
Hercules: Managing Tapes and Other Media
Assigning Media ID
For systems that have a Tape Robot (Library), the hardware has a built in barcode reader and will automatically detect the assigned ID of a Tape that has been loaded into the Library.
A "Single System", or system without a Tape Robot that uses an external tape drive or USB Hard Drive, the Media ID needs to be manually assigned. The way to use it is quite different because it has no mechanism to automatically read tapes and load them into the drive. So the tape has to be inserted manually into the drive. When a blank tape is inserted, as the drive can’t read the barcode (it is the robot which does that), the user has to specify the barcode via the GUI.
Description of the Barcode
- The barcode is a 10 characters string.
- The first three characters represent the location (site) where the tape are produced. It is configurable in the RemoteDB.ini (in the directory where the RemoteDB.exe is located).
- In this INI file, in the [Defaults] section, there is a line Location=XXX where XXX is the location which is gonna be used in the barcode. This location can be changed.
- The 4th character indicates the type of media (A for AIT3, C for SAIT1, D for AIT5, G for LTO, F for Hard Drive or "removable media")
- The 5th character inidcates the type of data on the tape (1 for raw data, 2 for processed data)
- The remaining 5 characters are a tape number
Example:
SNVC100001 means it is a tape from Snecma Villaroche (SNV), of type SAIT1 (C), holding raw data (1) and its tape number is 00001.
Manually Assigning MediaID
If the system asks for one or more NEW media, put an unformatted tape into the drive. If you have a label writer, you will have to print the number of the tape on it. Otherwise, label the tape manually.
After the tape has been loaded (may take a few minutes), on the Hercules GUI, the system will prompt you as follows:
- The tape icon will have a dialog coming on top of it (“Tape Drive requires your attention”)

- Click on this dialog
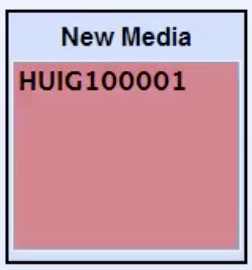
- A window appears listing the possible new media
- Select the one you want to process
- Then click the Check Button
 The job will start and be completed. When the tape is filled or there is no more data to archive, the tape will be ejected (after a time specified into the Hercules GUI by default 300 seconds).
Robot Status Screen
The Robot Status Screen provides feedback about all tape robots associated with the Hercules system.

The ‘Available Robots’ panel displays a series of buttons representing robots attached to the system. Selecting a button will display the associated robot’s details, or alternatively, clicking the robot icon from the overview page will jump directly to this page with the details for that robot shown.